
i’m working on my photo album from cha; i’ve been busy trying to edit my way through almost 700 photos! i hope to have it up on my blog soon along with my recap!
in the meantime, i want to share the projects that i did for REMINISCE & CLEARSNAP for the show.
first, here are the photos and directions for the 2 make & takes i designed and presented for Clearsnap at CHA…

Funky Flower Bracelet
supplies: (Clearsnap products are in red)
Memory Essentials Terrific Tool with Flower Tip
Ancient Page Full Size Inkpad – Coal Black
Sparkle Fibers – Limesicle and Pink Frost used in sample
Grafix: Computer Grafix transparent films
Pioneer: Photo Mounting Taper (or strong double sided tape)
Creative Impressions: white with black dots & edge ribbon
Deco Art: Triple Thick Glaze
plastic placemat
scissors
heatgun
q-tips
directions:
1) Cut 2 – 2” X 7 ½” strips of transparency
2) Cut 2 – 18” pieces of ribbon
3) Stamp 5 flowers on the rough side of one transparency strip using ME tool & flower tip with black ink. Heat set with heat gun for 10 -15 seconds.
4) Use a q-tip to apply a bit of glaze to the centers of 3 flowers (every other one). Sprinkle with choice of sparkle fibers and shake off excess.
5) Repeat step 2 with other 2 flowers and use a different color of sparkle fiber.
6) Lay another transparency strip on top of stamped strip, sandwiching the fibers between the two.
7) With transparency strips laying flat on table, apply pieces of double sided tape half on, half off both long sides of strips; trim any excess tape. Remove backings and adhere an 18” piece of ribbon to tape on each side, centering ribbon at center of strips. Fold ribbon over to other side and press well to adhere.

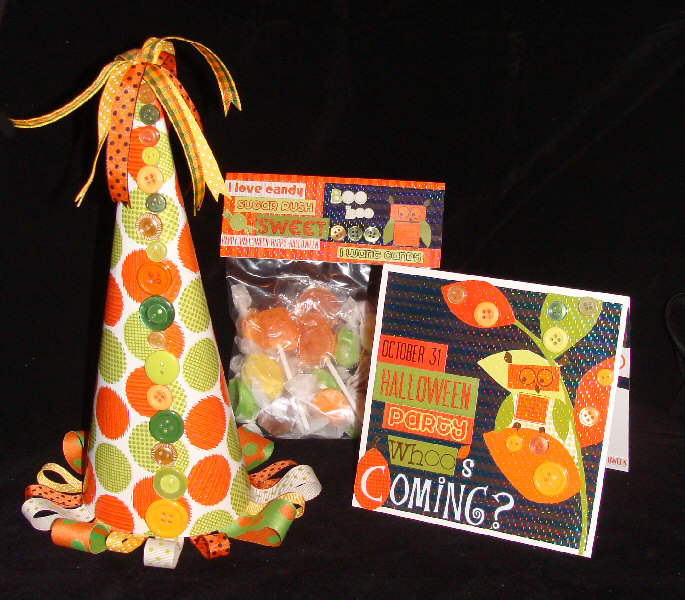
hello card
supplies: (Clearsnap products are in red)
Memory Essentials Terrific Tool with Flower Tip & Small Circle Tip
Memory Essentials Terrific Tool with adhesive Tip & Small Washer
Jumbo Get Rollin’
yellow, green and orange rubber bands from Memory Essentials Bits and Pieces
Vivid Dye Inkpads (fullsize) – Lemon Ice & Black
ColorBox Fluid Chalk Inkpads (fullsize) – Rouge
ColoBox Pigment Inkpad (fullsize) – Apricot
ColorBox Fluid Chalk Inkpads (cats eye) Rouge and Lime Pastel
Sparkle Fibers – Limesicle
Reminsice: rub-on letters
Pioneer: Photo Mounting Taper (or strong double sided tape)
black fine tip pen (like Zig Writer)
adhesive (zip dry or permanent tape runner)
black and white cardstock
directions:
1) Cut the following pieces from white cardstock:
1 – 5” X 10” piece
1 – 4” X 4” piece
1 – ½” X 4 ¾” piece
2) Cut the following pieces from black cardstock:
1 – 4 ¼” X 4 ¼”
1 – ¾” X 5”
3) Fold 10” X 5” piece of white cardstock in half to make card; ink edges using Rouge cats eye chalk ink.
4) Use Get Rolllin’ with rubber bands and Vivid Lemon Ice ink to add pattern to 4” X 4” piece of white cardstock; then ink edges using Lime Pastel cats eye chalk ink.
5) Use ME Tool & Flower Tip with Rouge chalk ink to stamp flowers.
6) Use ME Tool & Small Circle Tip with Apricot Pigment ink to stamp flower centers.
7) Use ME Tool & Adhesive Square Tip with small washer and Black Vivid ink to add accent around flower centers.
8) Adhere square to 4 ¼” X 4 ¼” piece of black cardstock; then adhere to card.
9) Ink ½” X 4 ¾” piece of white cardstock using Lime Pastel chalk ink. Then adhere double sided tape down the center. Glue white cardstock strip to ¾” X 5” piece of black cardstock, remove backing from tape and add sparkle fibers. Adhere to card.
10) Add “hello” using rub on letters.
11) Add stems to flowers and stitching lines using black pen.
and here are the projects i designed for Reminise…
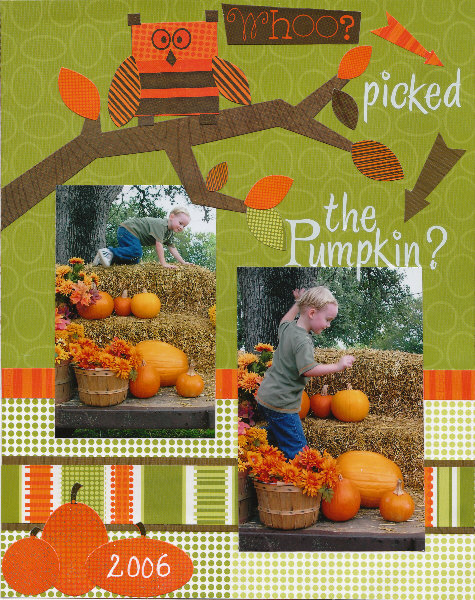
first are the projects which used products from the SIGNATURE SERIES lines:


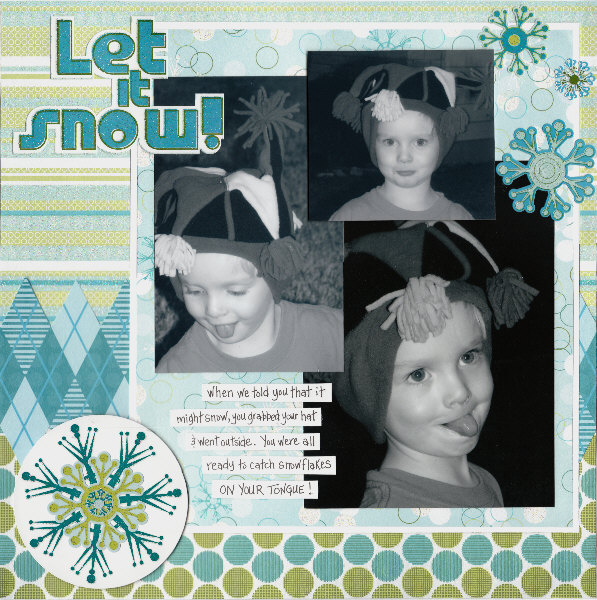
here’s 2 using the FROSTED line…