
i just added this post to the DAISY BUCKET BLOG, but thought i’d go ahead and post it here too… {and yes – i KNOW that i already shared the first project, but i didn’t want to delete the previous post because there are links to it that are still up}
if you haven’t been to their blog, you might just want to check it out – there are some AMAZINGLY talented women on the team {and no, i am not including myself in that flattery!}
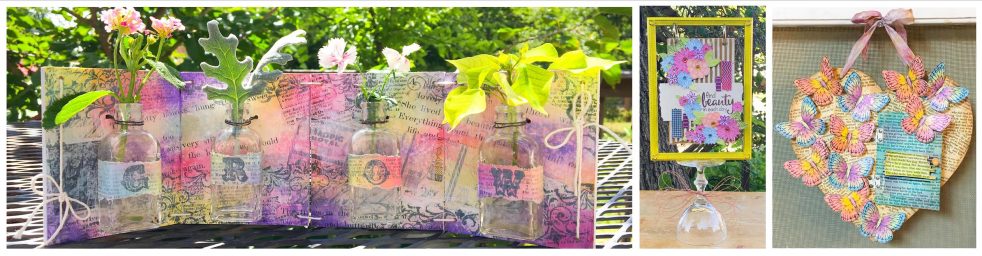
4/21 Daisy Bucket post {adding color to your stamps…}
i like to stamp, but i admit, i find myself stamping with black ink a lot, or just stamping a title or sentiment in one color. but there is a WHOLE rainbow of colors out there, and it’s pretty easy to bring them into your stamping. and i’m not just talking about dabbing your stamp into one new color at a time, i’m talking about filling your stamped images with color – LOTS of color…
i always liked to color when i was little… there was something VERY relaxing about opening that big box of 64 colors and rubbing them across the newsprint type paper that they used in coloring books “in the olden days”! LOL! the crayons went on smooth as silk – gliding across the page and filling that black and white image with color. now-a-days, the crayons are waxy and the paper is smooth and it’s just not the same. but if you are like me, you can revive your love of coloring, just in a new way – with your stamps! 2 of the techniques below begin with a black and white stamped image that you get to color in, just remember to STAY IN THE LINES! LOL! (or cheat like me and emboss your image so it’s easier to stay in those darn lines!
i’ve done 3 cards, each with a different technique for adding color to your stamping. i used papers from the LITTLE BLACK DRESS line as well as black and white cardstocks, black ink, and black and white embossing powders (are you beginning to sense a theme?) i wanted EVERYTHING to begin as black and white, so that the colors we were adding would REALLY POP!
for this first project, i used a new product called Smooch. it’s a pearlized ink that you paint on with a brush in the handle. the brush has a semi-rigid, REALLY tiny tip that lets you get into small areas easily. the colors are gorgeous, and they bring a LOT of color to a simple black and white image…
Happy Thoughts Card

Supplies:
Daisy Bucket: Little Black Dress – Dinner with Friends printed paper, Stamps – caterpillar, row of grass, label, happy thoughts and dragonfly
Other: Clearsnap: SMOOCH – gold lame, siren, pumpkin, azure and green apple, Top Boss tinted embossing stamp pad, Top Boss embossing powders – white and black, Prism: black and white cardstock, 3D dots, rhinestones and heat gun
Directions:
1) cut a 4″ X 12″ piece of white cardstock and fold in half to make card.
2) cut a 3″ X 3 1/2″ piece of striped paper and adhere to card.
3) stamp dragonflies, caterpillar and grass on black cardstock using embossing pad. emboss with white embossing powder.
4) color stamps using SMOOCH, then cut out.
5) stamp label on white cardstock using embossing pad, then stamp verse inside label. emboss with black embossing powder.
6) color in label, then cut out.
7) adhere elements to card, using 3D dots to adhere caterpillar and label then add rhinestones to dragonflies.
[rockyou id=136300128&w=426&h=320]
next… i used pencils by Prismacolor, they are nice and smooth and glide on nicely! they have a blender pencil that lets you smooth several colors together so you can add shading easily…
Great Day Card

Supplies:
Daisy Bucket: Little Black Dress – Black Tie Affair printed paper, Stamps – layered daisy, great day and striped square
Other: Sanford: Primsacolor colored pencils – 2 shades each – light and dark – pink, yellow and blue, Clearsnap: ColorBox Chalk Ink – blackbird and pastel pink, Prism – white cardstock, 3D dots and pink rhinestone
Directions:
1) cut a 7 X 8 piece of white cardstock and fold in half lengthwise to make a 3 1/2 X 8 card.
2) cut and adhere a 2 X 8 piece of polka dot paper to card.
3) stamp 5 flowers on white cardstock using black ink.
4) color 2 flowers pink with blue centers, and 2 flowers blue with pink centers, each with yellow middle petals. color 1 flower yellow with pink center petals and add a pink rhinestone at the center.
— to color and shade: begin with the darker color, and go around outside of large petals, add lighter color at center of petals, then use belnder to combine and smooth out the 2. for the center petals, begin with the darker color at the part nearest the center, then add the lighter color at the tip of the petal, then blend. you can go over the colors again to add depth and a deeper color, just remember to blend each time!
5) cut out flowers and adhere pink and blue ones to card.
6) stamp the striped block using pink ink. when dry, add yellow color to the white areas of the stripe. then cut out, leaving a 1/8 border around the edge. color the border using blue, go over the colors with the blender to smooth.
7) ink the edge of the block in black ink and adhere to card.
8) adhere yellow flower using 3D dot.
[rockyou id=136454891&w=426&h=320]
and finally, and this is probably the EASIEST techinique because it’s not really coloring, just stamp your image on printed paper!
Hip Hip Hooray! Card

Supplies:
Daisy Bucket: Little Black Dress – Out on the Town printed paper, Perfect Harmony – Avery, Stamps – birdie and hip hip hooray
Other: Clearsnap: Top Boss – embossing stamp pad and black embossing powder, Prism – white and black cardstock, Marvy – 2″ circle punch, 3D dots and rhinestone
Directions:
1) cut a 5 X 10 piece of white cardstock and fold in half to make card.
2) cut a 2 3/4 X 5 piece of black cardstock and adhere to card.
3) cut a 2 1/4 X 5 piece of polka dot paper and adhere to card.
4) stamp and emboss birds on pink, blue and yellow printed paper; cut out and adhere to card.
5) stamp and emboss sentiment; then punch out.
6) ink edges of circle and adhere to the card using 3D dots.
7) add rhinestones to flower center on birds.
[rockyou id=136455462&w=426&h=320]
i hope you enjoy these projects and techniques and will give them a try to bring a little COLOR into the basic black and white!
—tami {dt member}
